Fluid and Glass Surfaces using OpenGL
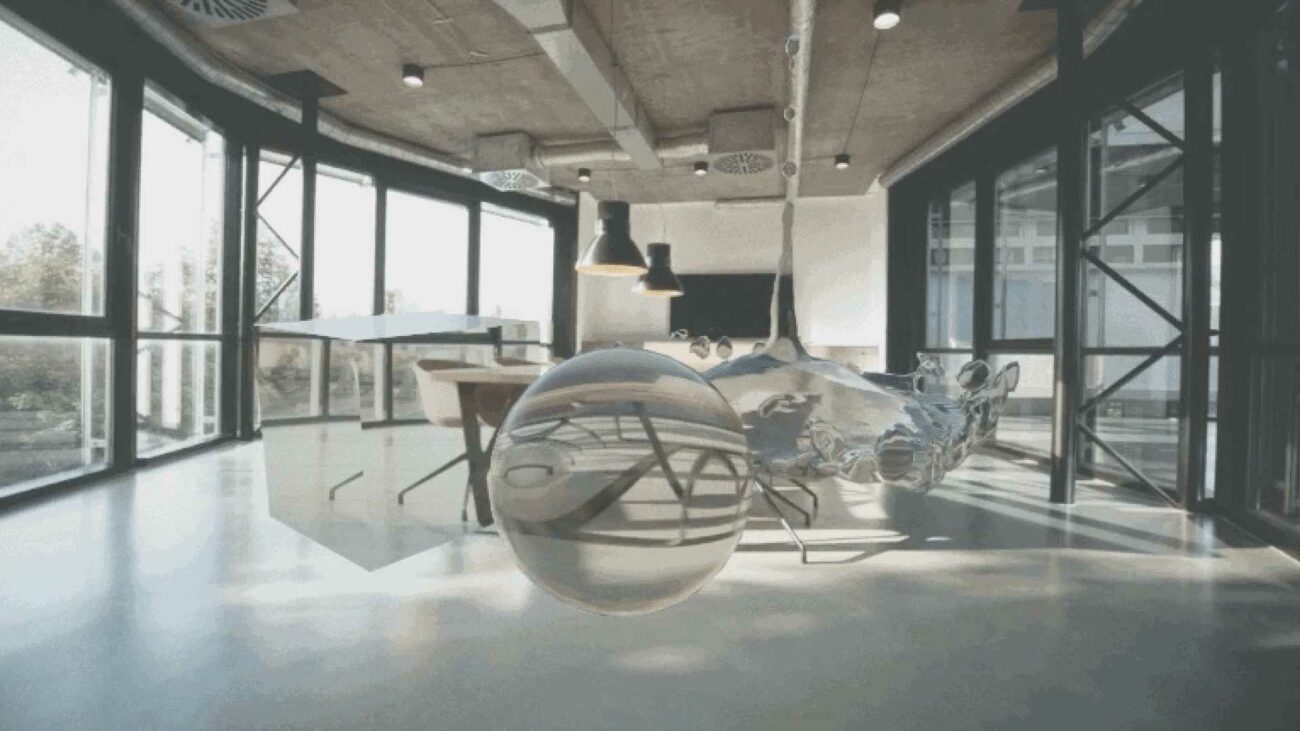
While prototyping the looks of fluid and glass surfaces for Nespresso AR, we found we needed a solution for good looking transparency and refraction in AR on OpenGL 3.1. To get that solution, I came up with a really simple technique for simulating refraction at very little GPU cost. It works by using the AR camera image and altering it’s UVs to simulate a refracted image through an object.
Nespresso Vertuo AR
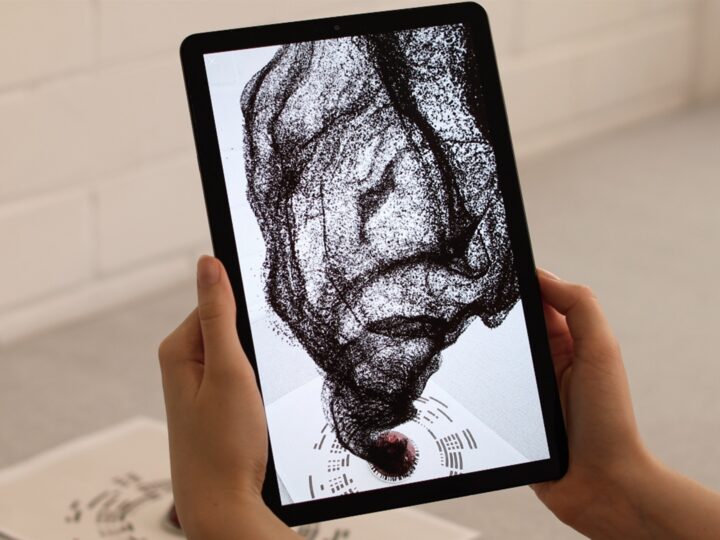
Augmented reality reinvigorates Nespresso staff training workshops.
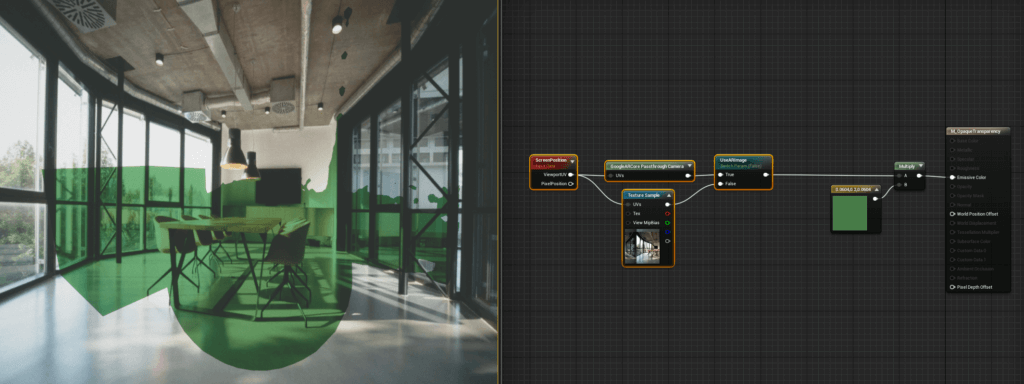
First off we need to make our opaque material appear see through, we can achieve this by plugging screen space UV coordinates into the AR image UV input (the camera image itself).
To get the refractive effect I use the surface normals to influence the screen space coordinates. Screen space coordinates are a 2D vector, while surface normals are a 3D vector that points in the direction perpendicular to the surface. Because the normals aren’t influenced by the camera’s position, I transform them from World Space to Camera Space.
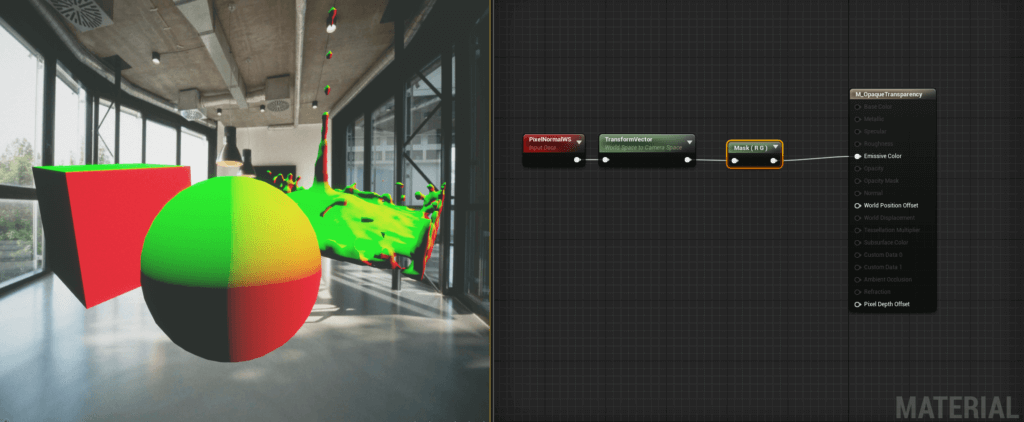
With the camera space normals, I found that subtracting them from the screen space UV’s produces the desired refractive effect.
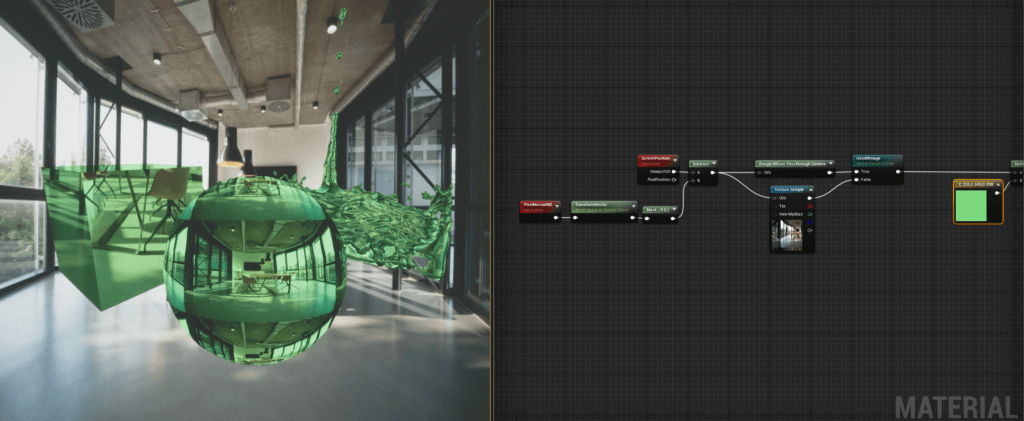
Now all that’s left is to artistically tweak the values to produce semi realistic refraction. I found using the fresnel node further helped show the object’s form.
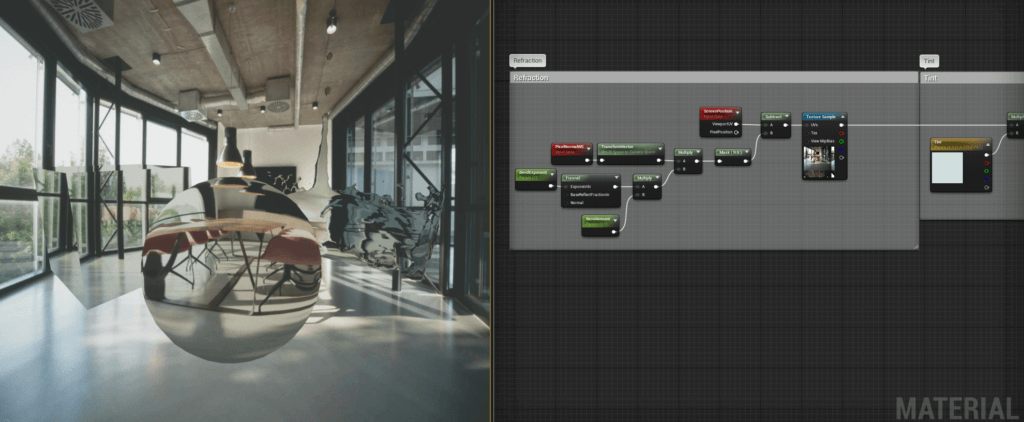
So that’s how I achieved cheap, good looking transparency and refraction for augmented reality. And by mixing this technique up with a few other material tricks, we can create all kinds of transparent mediums such as fluids, like coffee and glass for mugs.
Subscribe below to be the first to receive insights and tutorials from David and the rest of the team.


