How to make 360 video for virtual reality

Starting with 360
360-degree spherical video has always been something that intrigued me, and last year, I was encouraged to start experimenting in light of virtual reality.

HSBC Wallabies All Access was our first live-action virtual reality project, and these techniques and processes I’ve learnt were specifically from that production. It’s been quite a journey getting acquainted with it, so I thought I’d share my workflow to help people who are trying to achieve similar things.
The equipment
There are plenty of choices in the marketplace, including the Ricoh Theta, IC Real Tech Allie, Kodak SP360cam, or GoPro’s.

The team made the decision to go with GoPro’s mounted on a 360Heros rig, since it’s adaptable to 2D and 3D stereoscopic applications. But it also offers flexibility in underwater and aerial (drone) environments for future projects.
We’ve been using the GoPros beyond the 360 video applications, often for filming behind-the-scenes of projects.
Pre-production
Shooting with 360 cameras is nothing like filming normal footage. Since it was our first, there was a lot of troubleshooting. Three main things to consider when you shoot 360 videos: camera position, vision range, and movement.
Camera position
In storytelling, 360 cameras offer different points of view and allows you to step into someone else’s shoes. For example, if I were an ant, the VR experience would paint a picture of things being made humongous. As a small ant, how would you react to hearing a person’s footsteps pounding and getting louder with each second? Just imagine the places that you can go or what you can be!
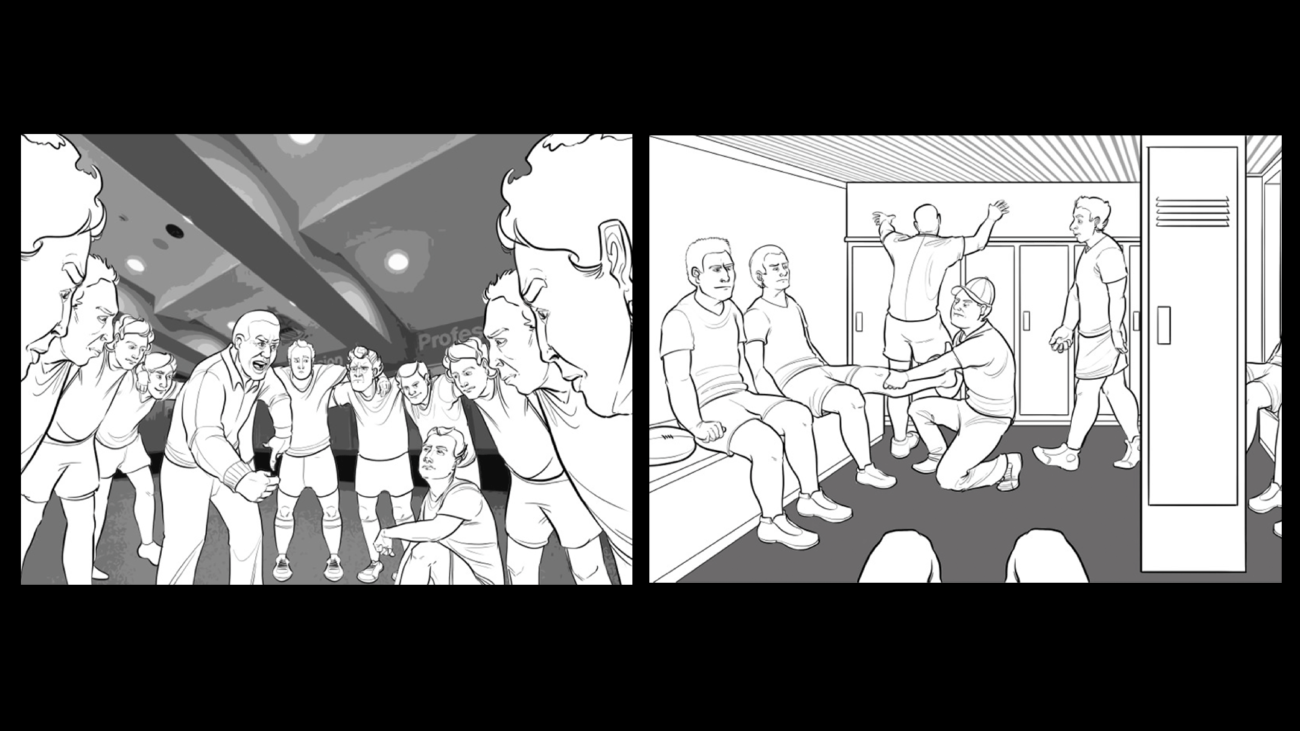
To understand what audiences feel or how they react is very interesting, a lot more things need to be taken into account: the height of camera, its positioning in scene, and where the camera is facing at the beginning. It affects the audience’s feeling and head movement during the experience.
Vision range
360 means EVERYTHING is in the camera’s view, the camera crew, lighting, and any equipment – making it crucial to have proper planning in the pre-production stages.
In the second scene of HSBC Wallabies All Access, we had to change the light bulbs throughout the locker room we were shooting in, and the whole camera crew hid behind a half open door hidden from the camera angle.
It resulted in a naturally well-lit environment, little did people know how much manipulating needed to be done in the scene.


Movement
There are two key movements to take into consideration: movements in the 360 video and how the audience moves their head (which we can’t really control). The standard Australian TV frame rate is 25 frame per seconds. In VR experience, you want to aim for higher and more frequent frame rates for a more realistic experience.
Virtual reality headsets land just in front of your eyes, movements need to be shown as realistically as possible, otherwise, people would feel disorientated and nauseous. If you had 25 frames per second in VR, you would see motion blur, and it wouldn’t make sense because the immersion replaces your current reality with virtual reality. Thus, the video has to behave the same way you would expect to view things in real life.
For this project, we settled between 50-60 frame rates per second to capture the fast speed action of the rugby players.
On the other hand, the head movement of the audience is very important too. We had to ensure that the video file size wouldn’t affect the way the video was being rendered out in the headset. If the file size is too big for the hardware being used, it can cause glitches and jittering when the audience moves too much, resulting in dizziness or a very unsettling feeling.
The HSBC Wallabies project brought us to three different locations to shoot a scene in each. Using seven GoPro’s and the rig, each shot was comprised of seven different video angles that were recorded and synchronized to the same length.
Post-production
After shooting, you’ll end up with multiple video files that needed to be combined for a final fully spherical video.
As each take began at the shoot, we made sure to include an audio marker, to be able to synchronise the video based on the audio.
We use Kolor Autopano Video as our stitching program and Adobe After Effects for the rest of the post-production.
Here’s a step-by-step process of spherical video post-production:
1. Synchronise the frames in each video based on the audio marker.
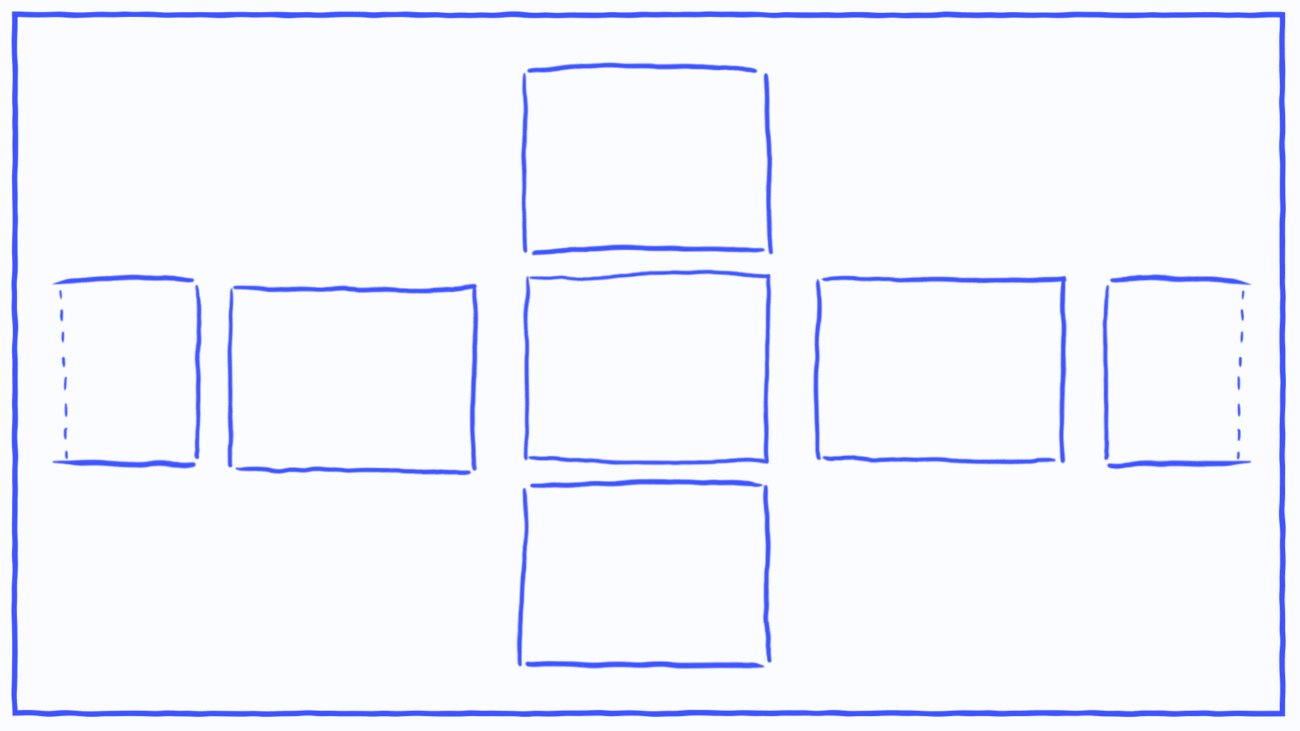
2. Warp the first frame from each one of the seven cameras.
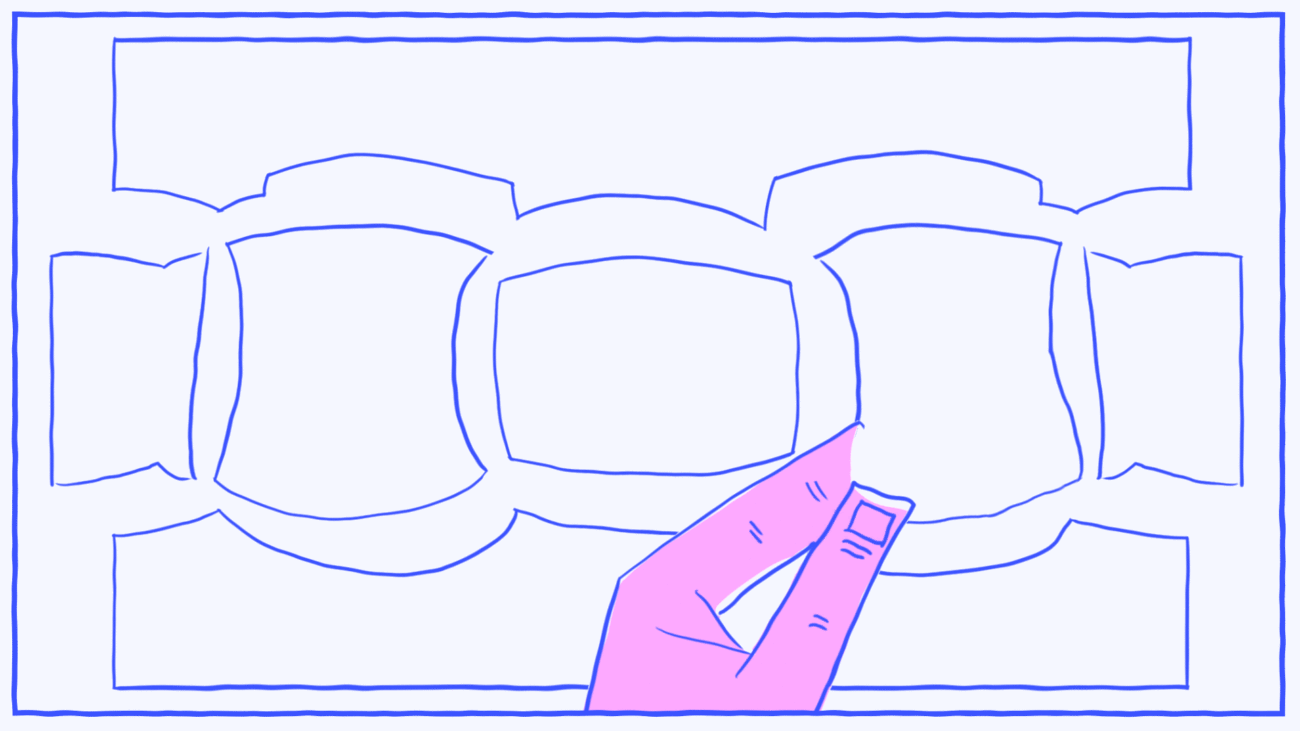
3. Stitch and blend them together into the spherical format.

4. After working on the first three steps of the first frame, you can apply it to all the frames that follow in the sequence.
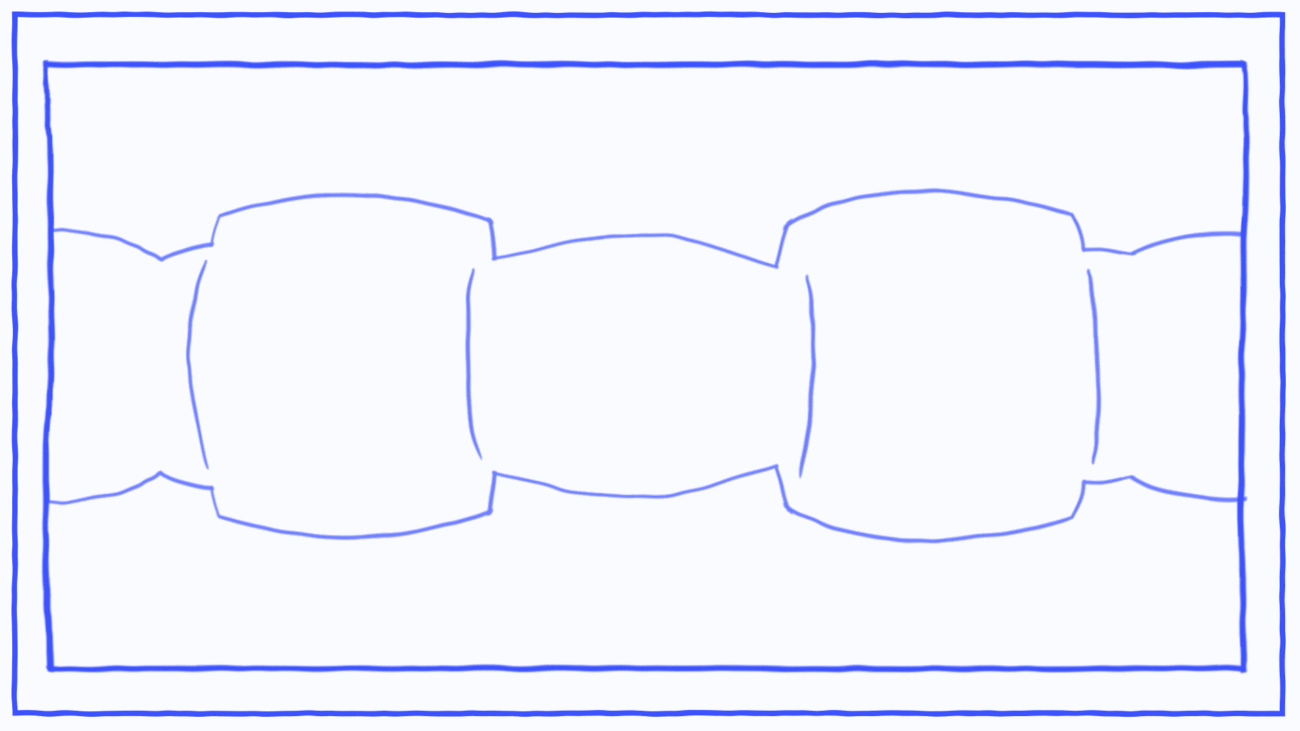
5. Render the whole video out and use After Effects for touching up. In particular, things that we constantly touched up were the tripod, lighting, and grading.

6. After the video is complete, get a developer to map the long video into a 3D sphere environment with audio surround sound.
7. Export in a suitable format for your device. In our case, an SDK format to be used for Android in Gear VR.
Lessons learnt + next steps
As virtual reality and 360 content evolve, now being hosted both on Facebook and Youtube, we can assert that there will be a long life ahead of this.
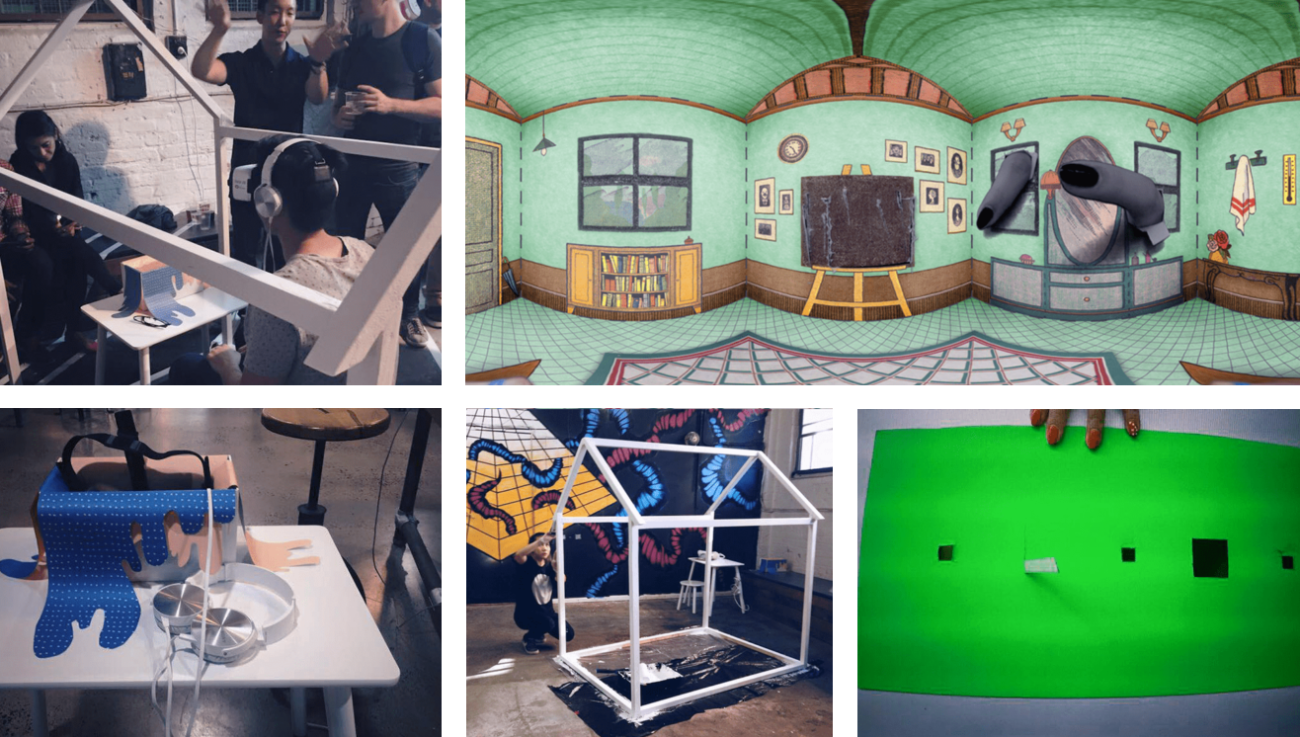
The HSBC project was a good first step for me to get acquainted and formulate a system of 360 video in VR, but as the medium progresses, I want to experiment with how we can acknowledge the presence and feelings of the audience that’s participating in the experience. That being said, I worked on a personal project for theFables From the Threshold exhibition that explores just that by making you feel like a paper doll in the production, Dollhouse.
Currently, we are working on a project for The World Bank documenting people in conflict areas and showcasing it through a virtual reality format. The challenges fall more on the directing – language barriers, the lack of familiarity with technology, and environmental.


